Epoxy resins are one of the most versatile materials used in various industries. Their unique properties make them ideal for a wide range of applications, such as coatings, adhesives, composites, and even jewelry making. One particular use of epoxy resin that has gained popularity in recent years is for creating durable and beautiful tabletops.
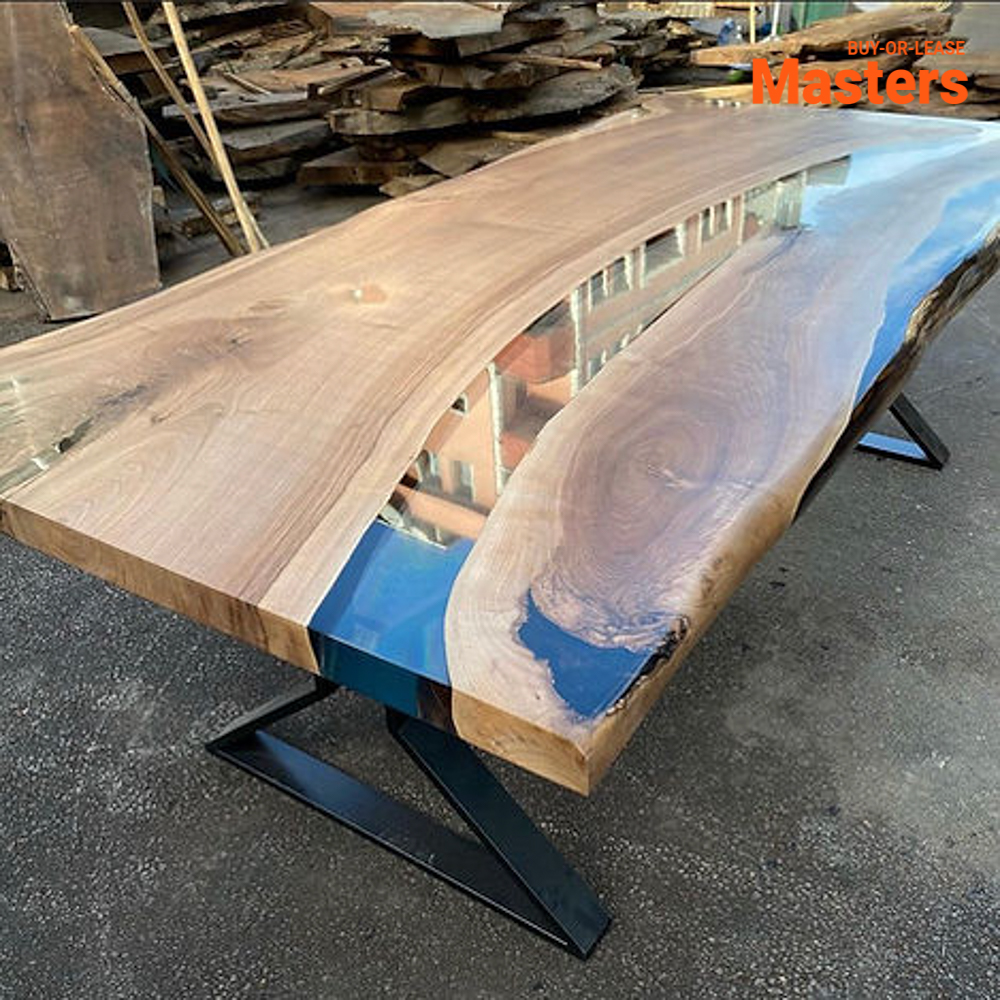
Why Choose Table Epoxy?
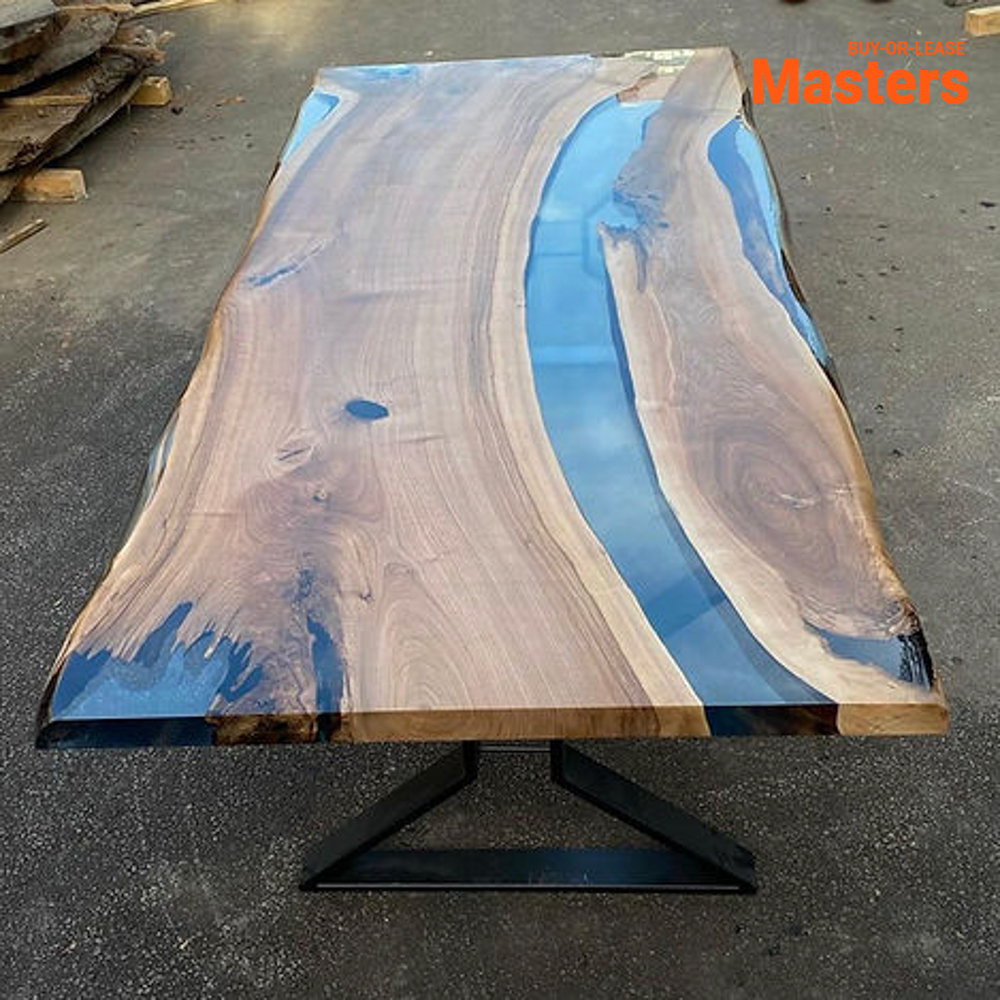
Table epoxy, also known as bartop epoxy, is a type of epoxy resin specially formulated for use in creating tabletops. It offers several advantages over other materials commonly used for tabletops, such as wood or stone.
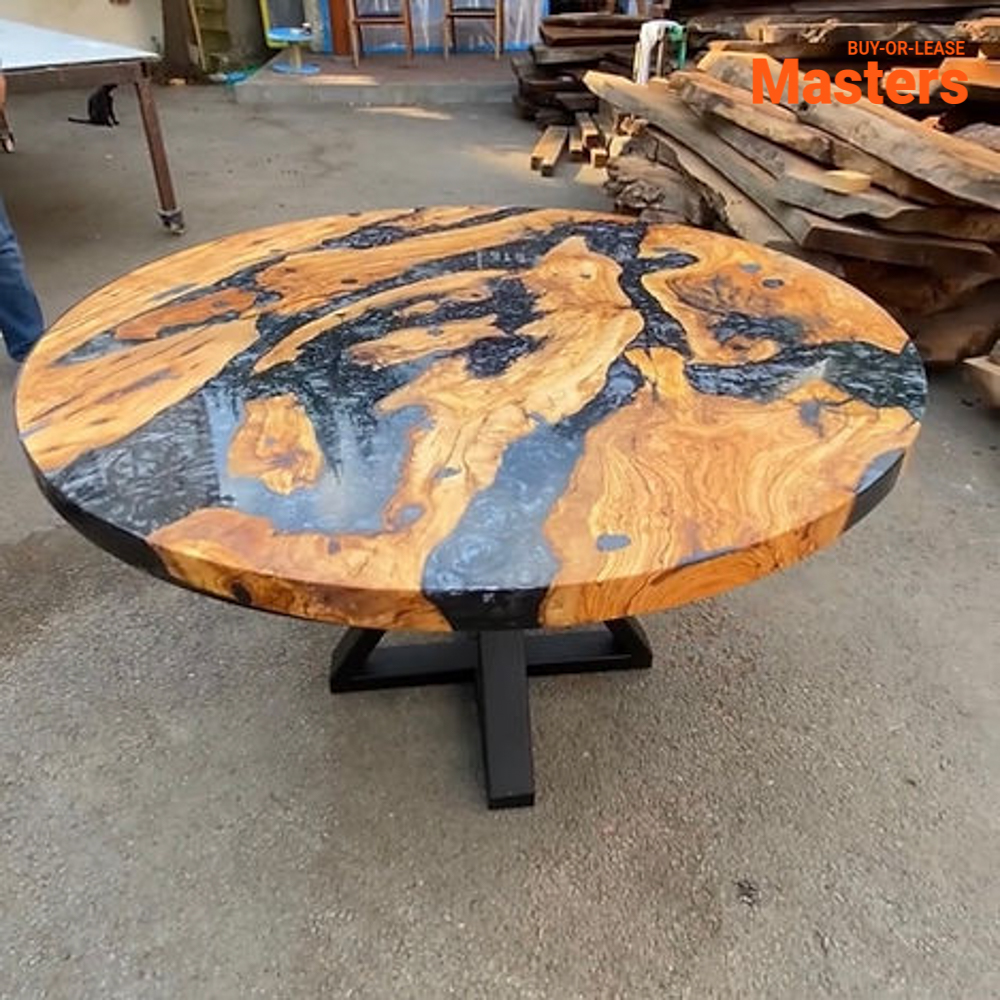
Durability
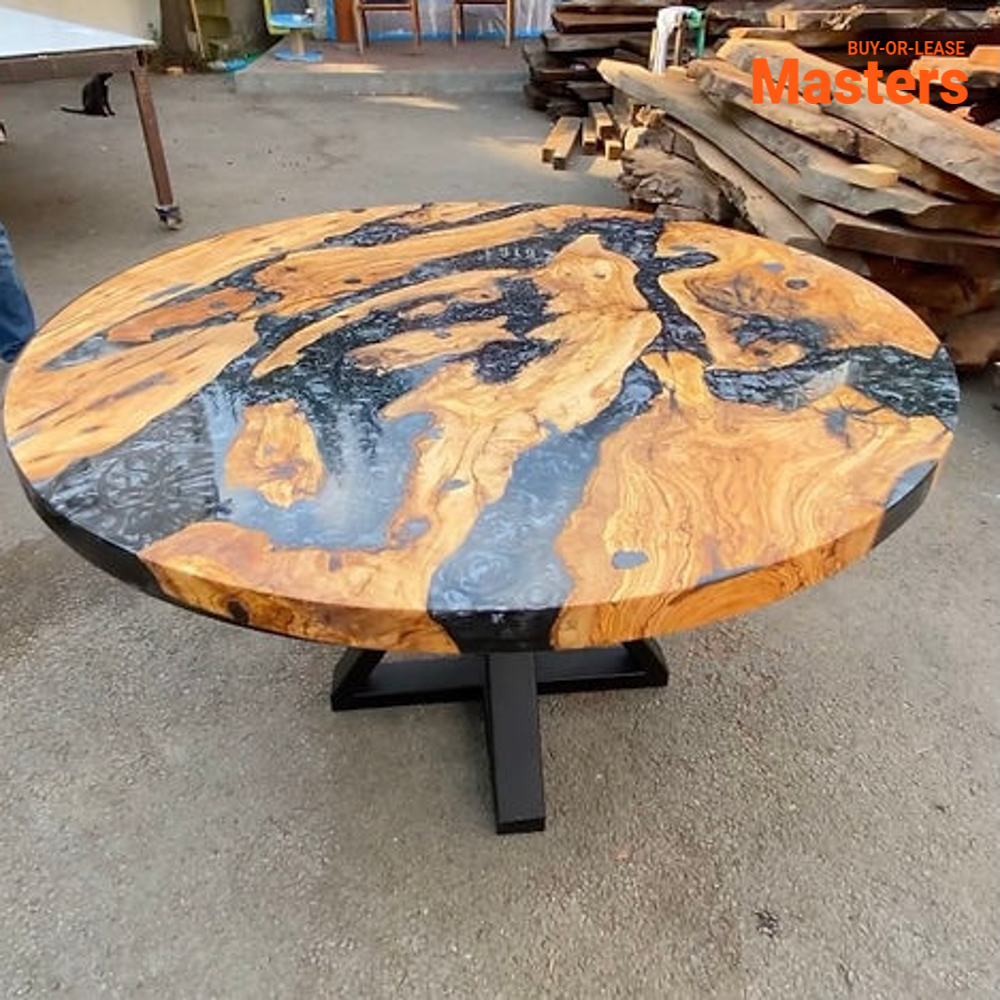
Epoxy resins are highly durable and can withstand heavy usage without showing signs of wear and tear. This makes them an excellent choice for high-traffic areas, such as bars and restaurants.
Water Resistance
Epoxy resins are inherently water-resistant, making them perfect for use in tabletops where spills and moisture are common. This also makes cleaning a breeze as any spills can be easily wiped off without causing damage to the surface.
Customization
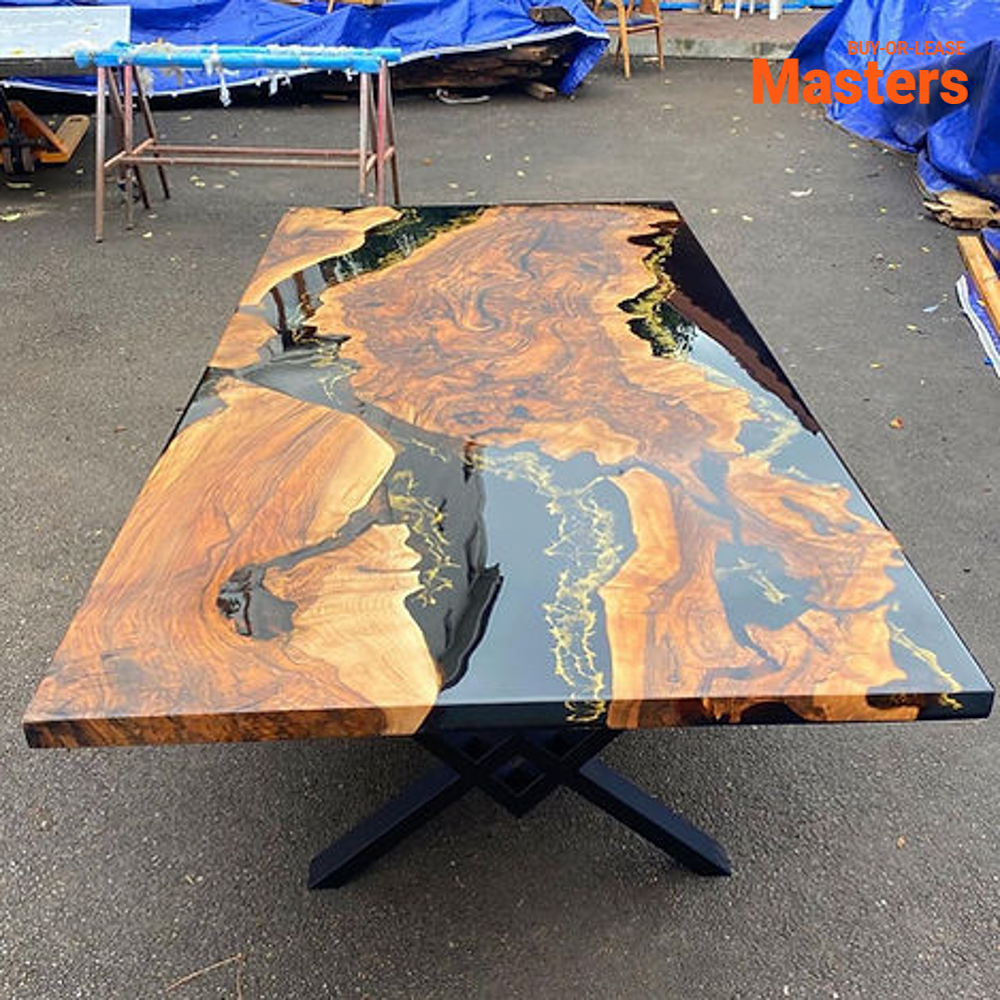
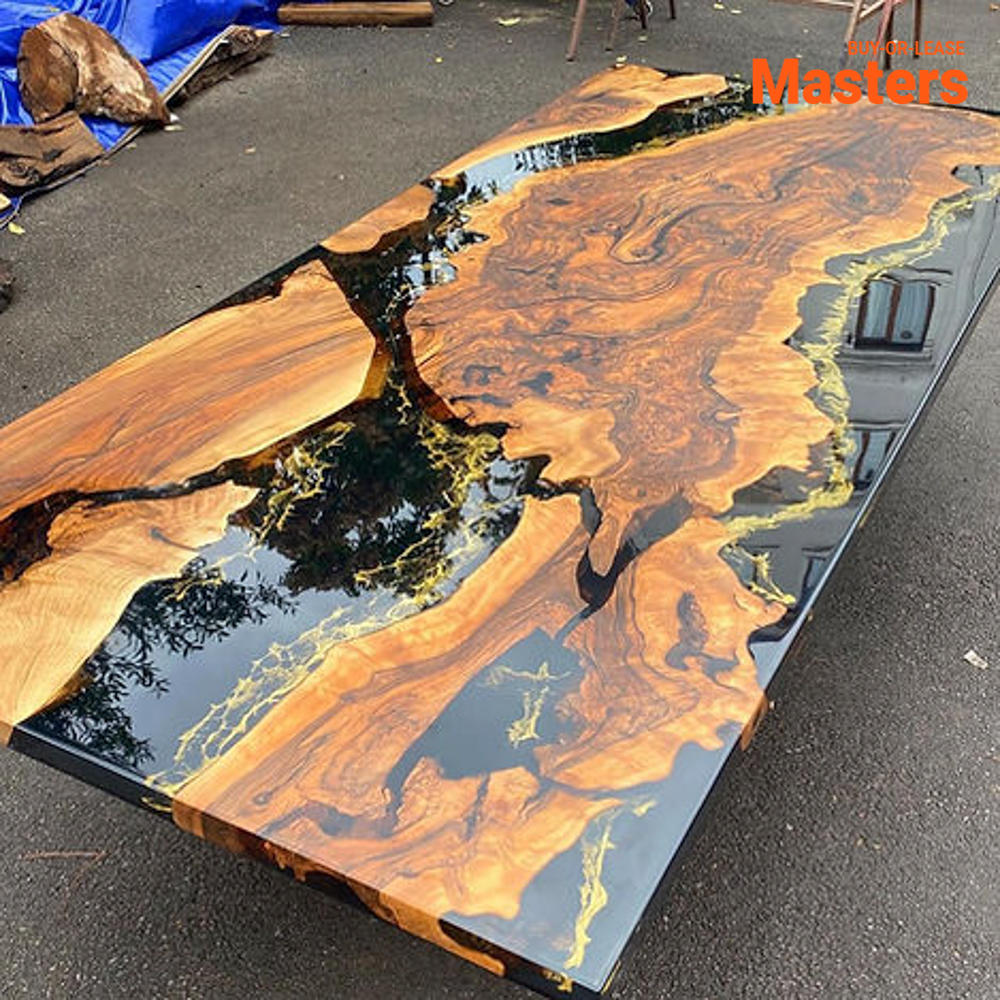
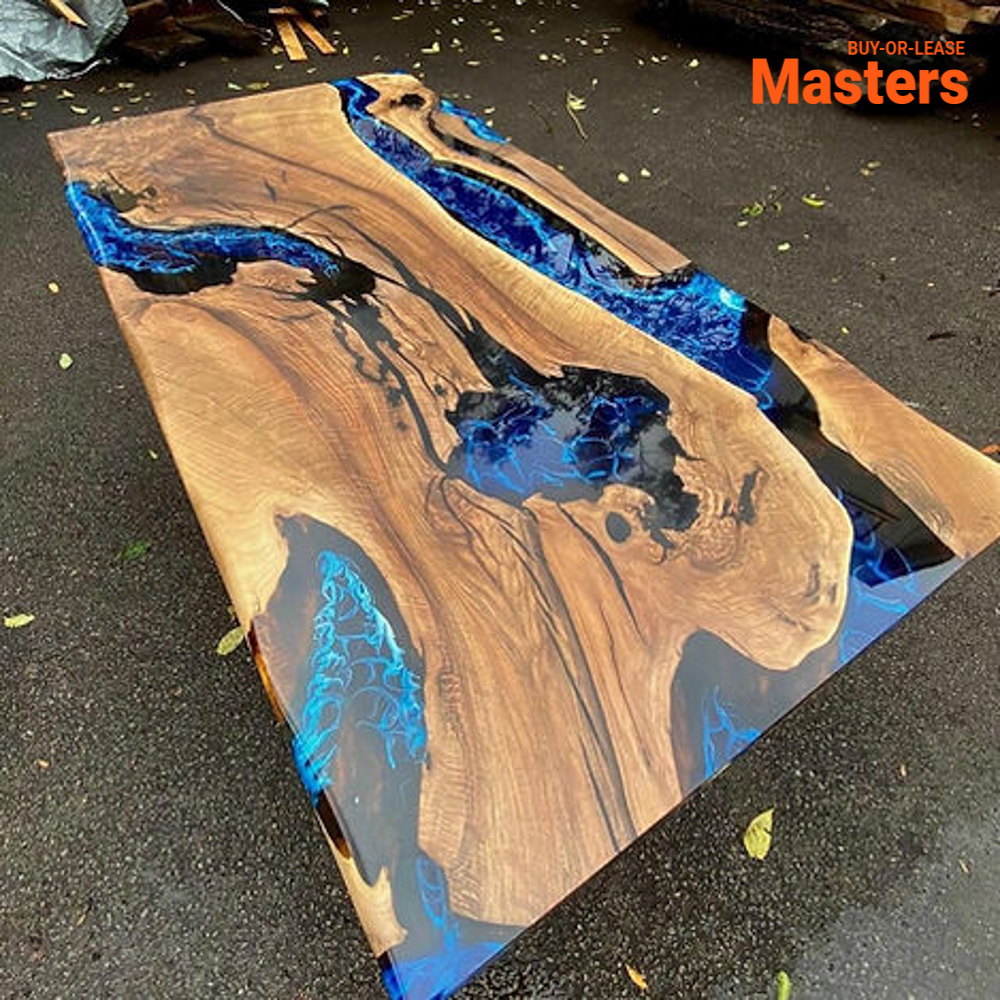
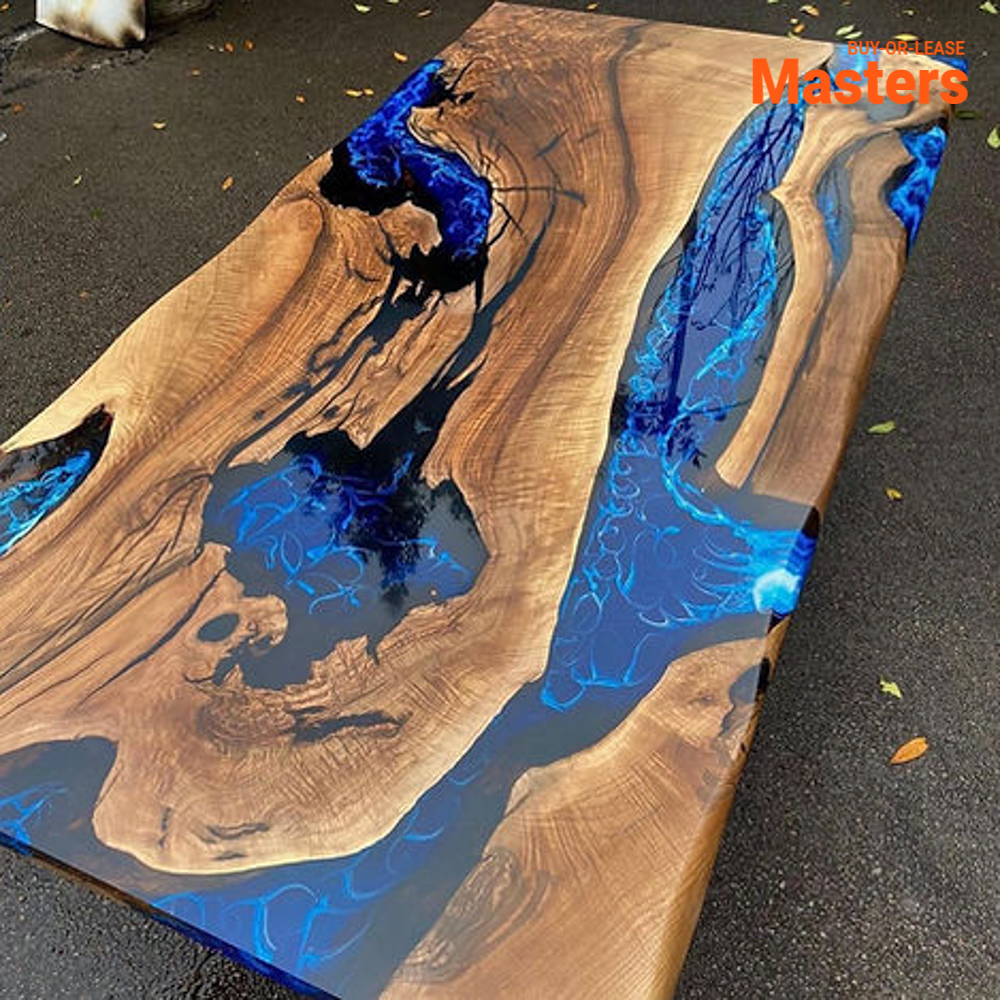
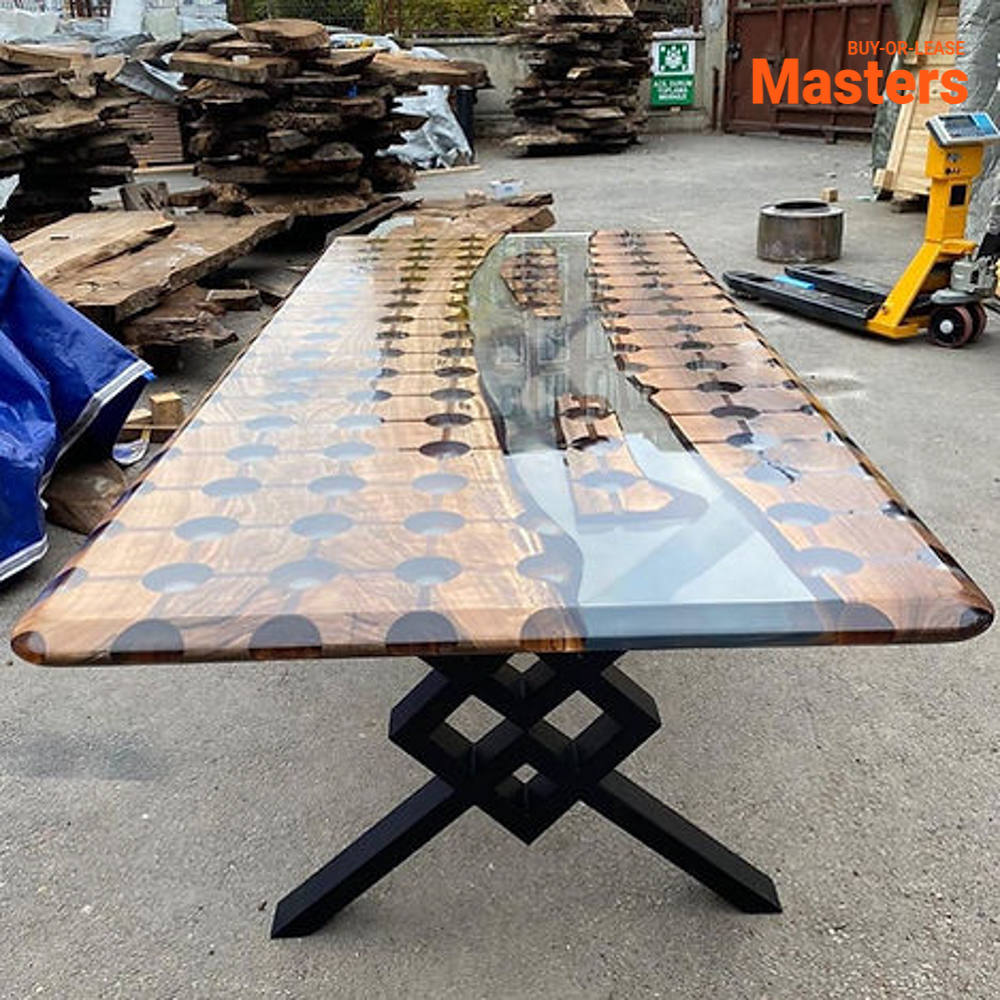
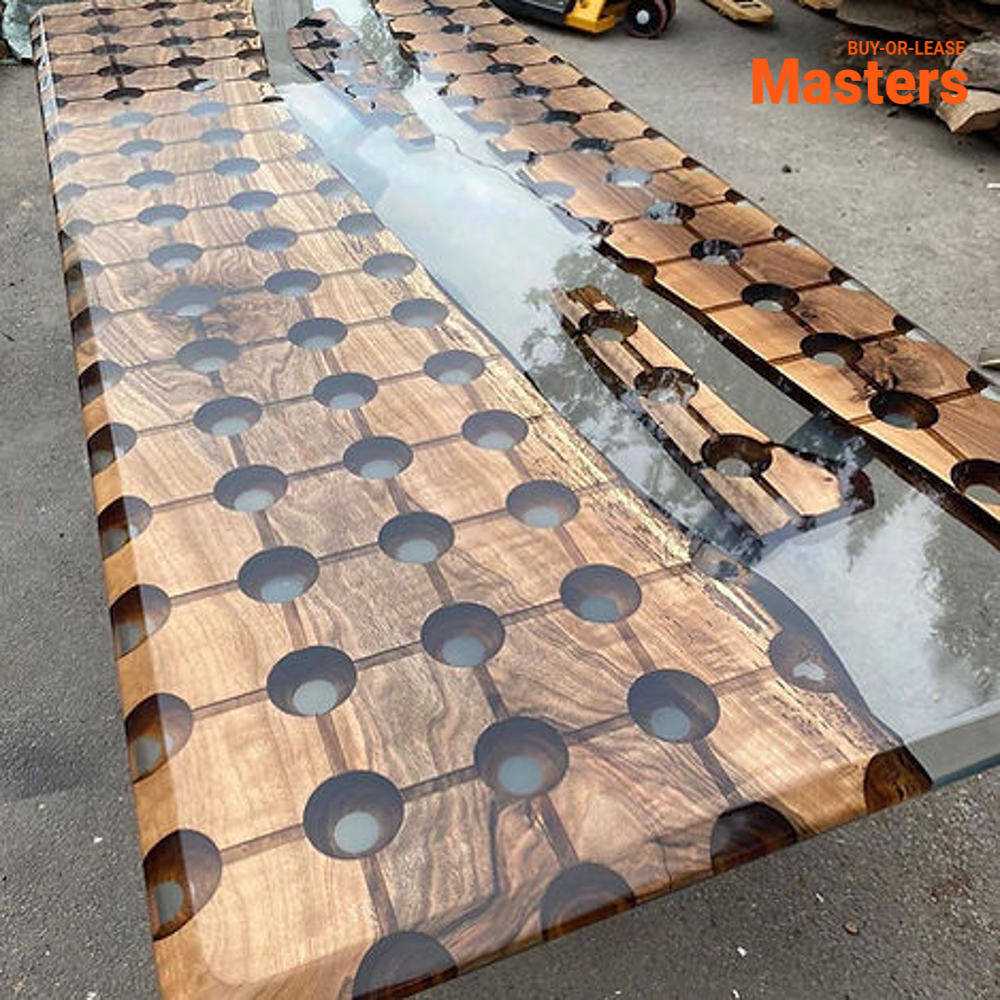
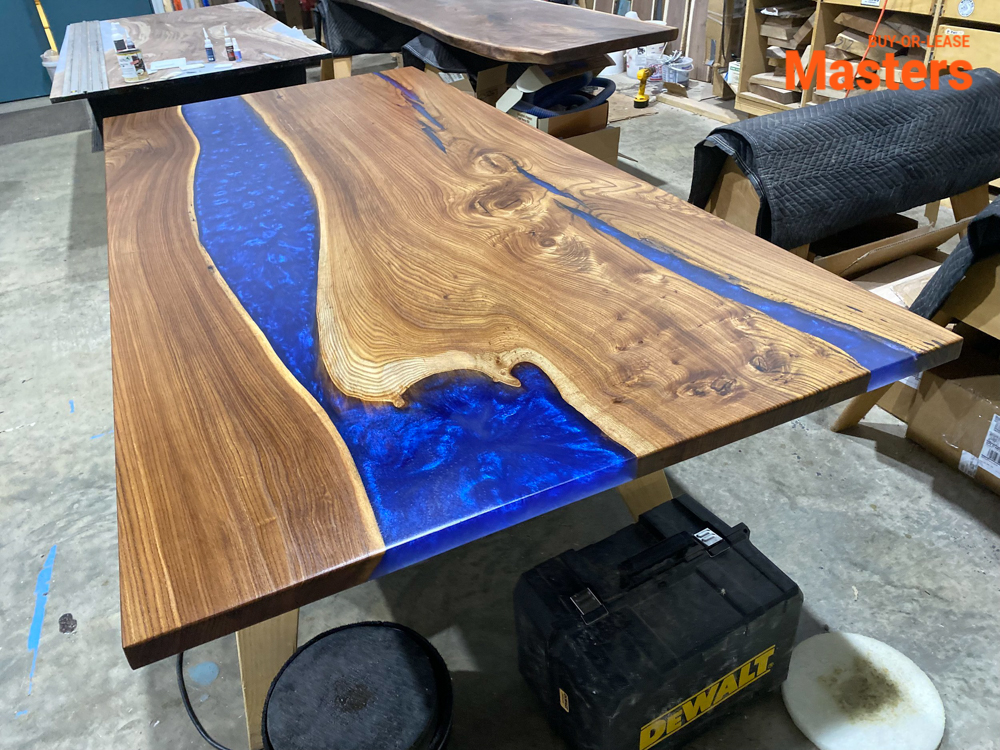
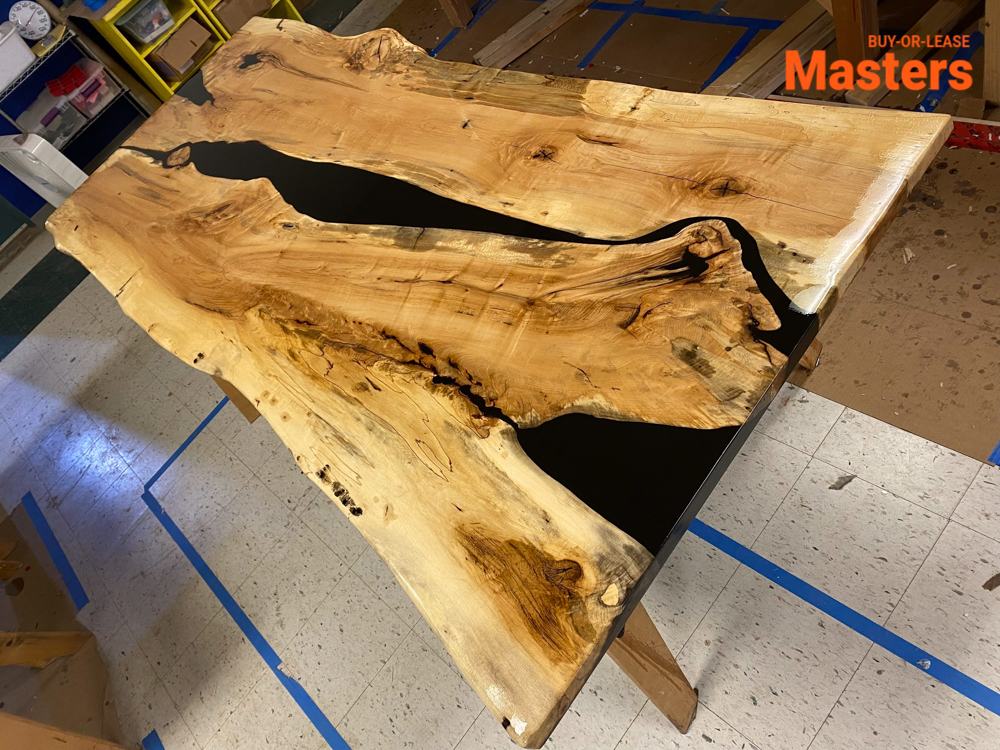
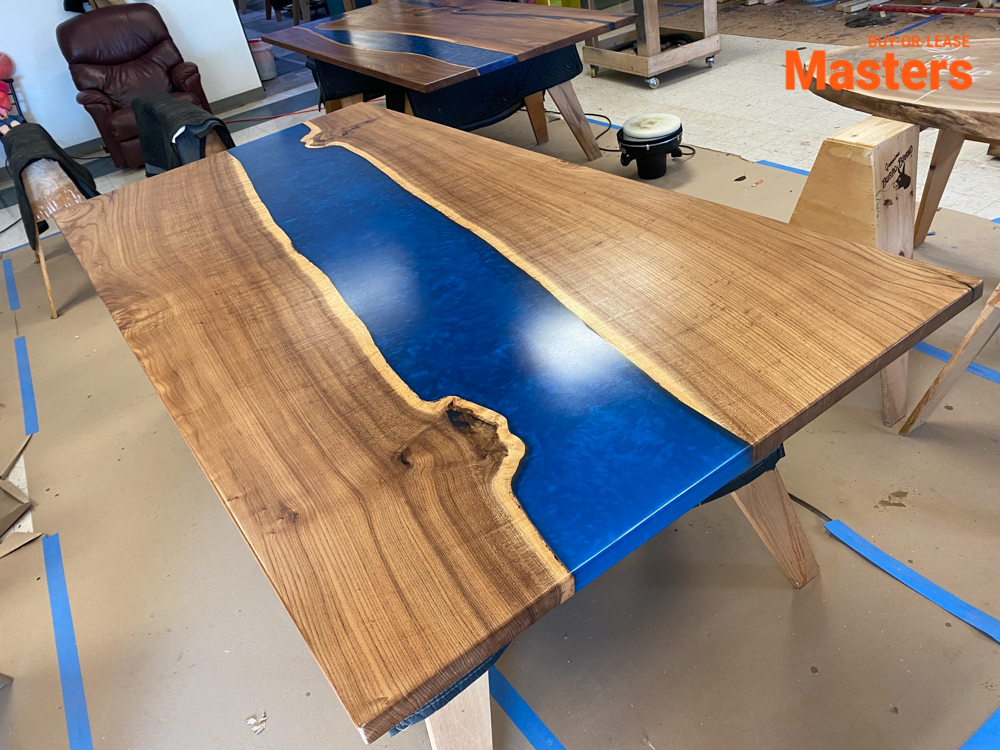
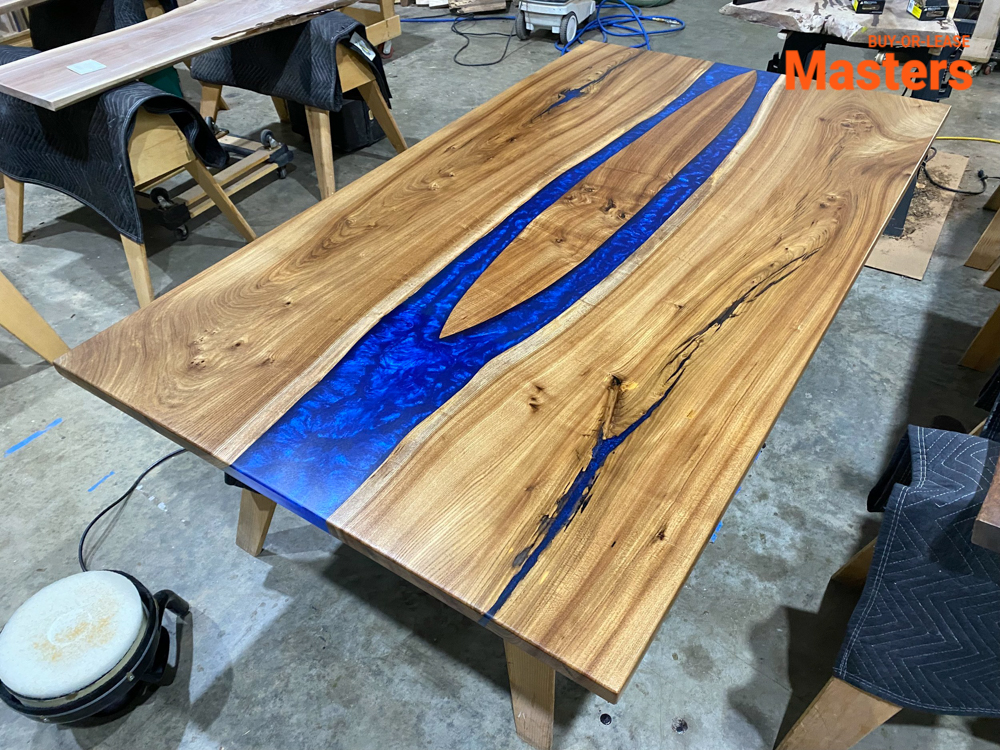
Table epoxy comes in a variety of colors and can be mixed with various additives, such as pigments and metallic powders, to create unique designs. This allows for endless possibilities when it comes to creating a one-of-a-kind tabletop.
Versatility

Table epoxy can be used on almost any surface, including wood, concrete, and metal. This means that you can transform an old, worn-out table into a stunning piece with just a few coats of epoxy.
Cost-effective
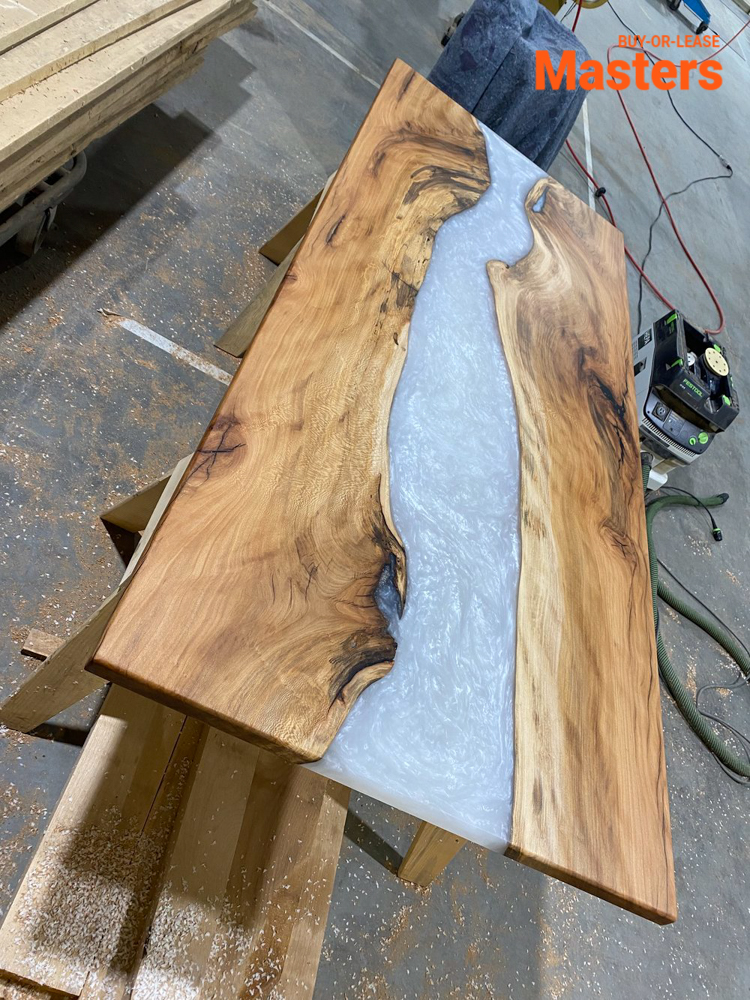
While the initial cost of purchasing table epoxy may seem high, it can actually be more cost-effective in the long run. Its durability means that you won’t need to replace your tabletop frequently, saving you money in the long term.
How to Use Table Epoxy?
Creating a tabletop using epoxy resin is a straightforward process that can be done by anyone with some basic knowledge and skills. Here are the general steps to follow:
Step 1: Preparation
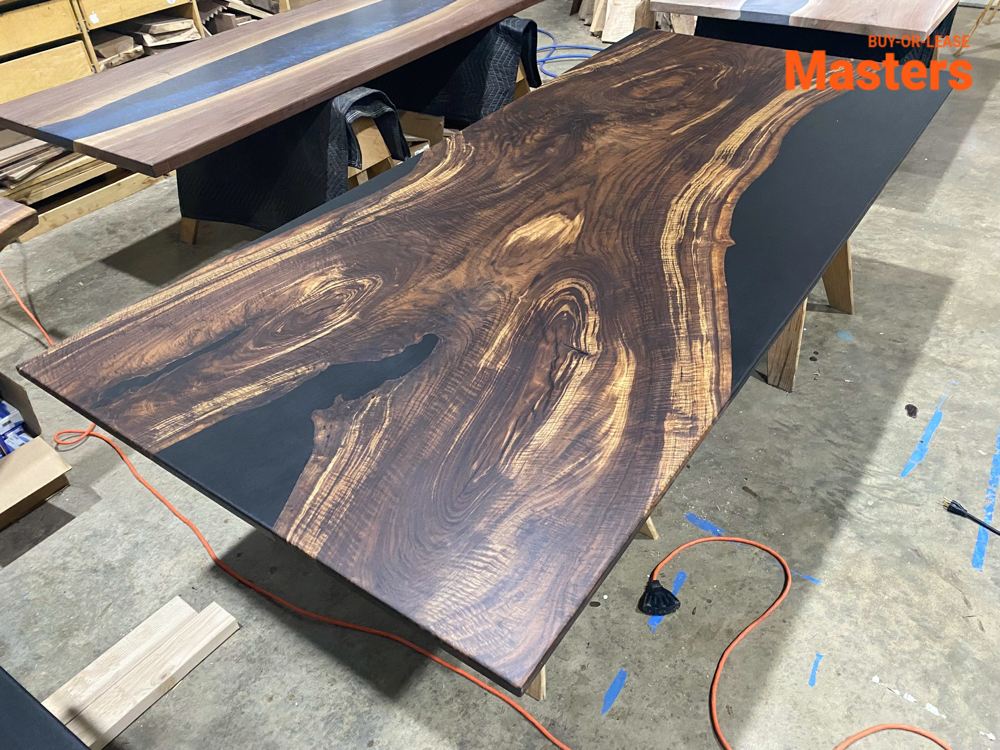
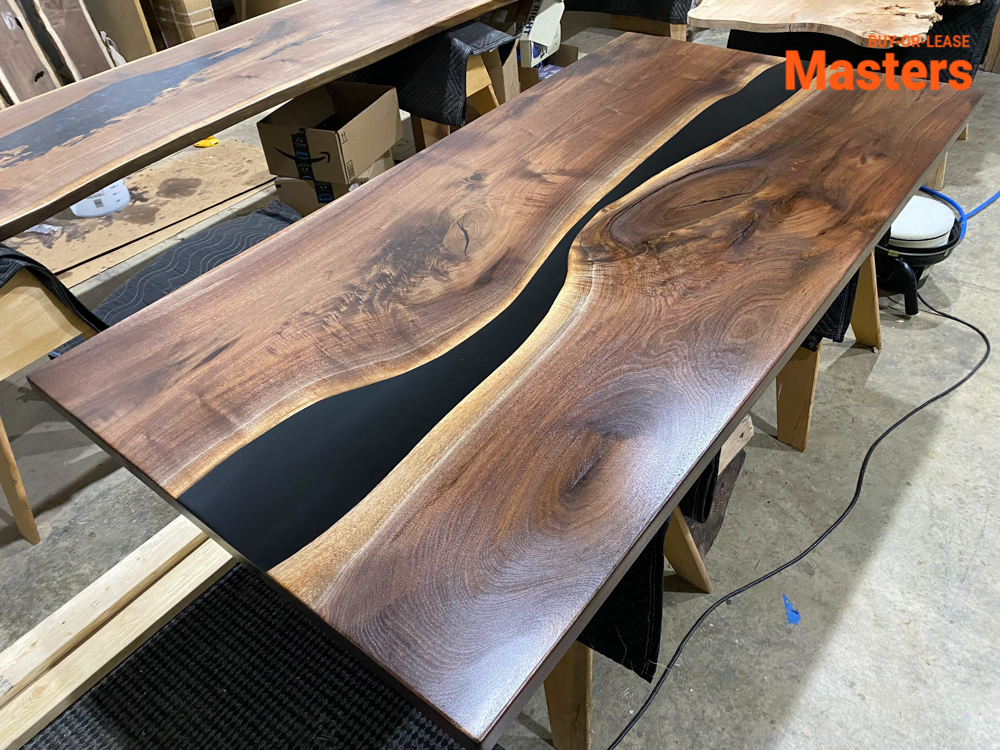
The surface of the table must be clean, dry, and free from any dust or debris. Any imperfections on the surface should be filled in with wood filler or sanded down.
Step 2: Mixing
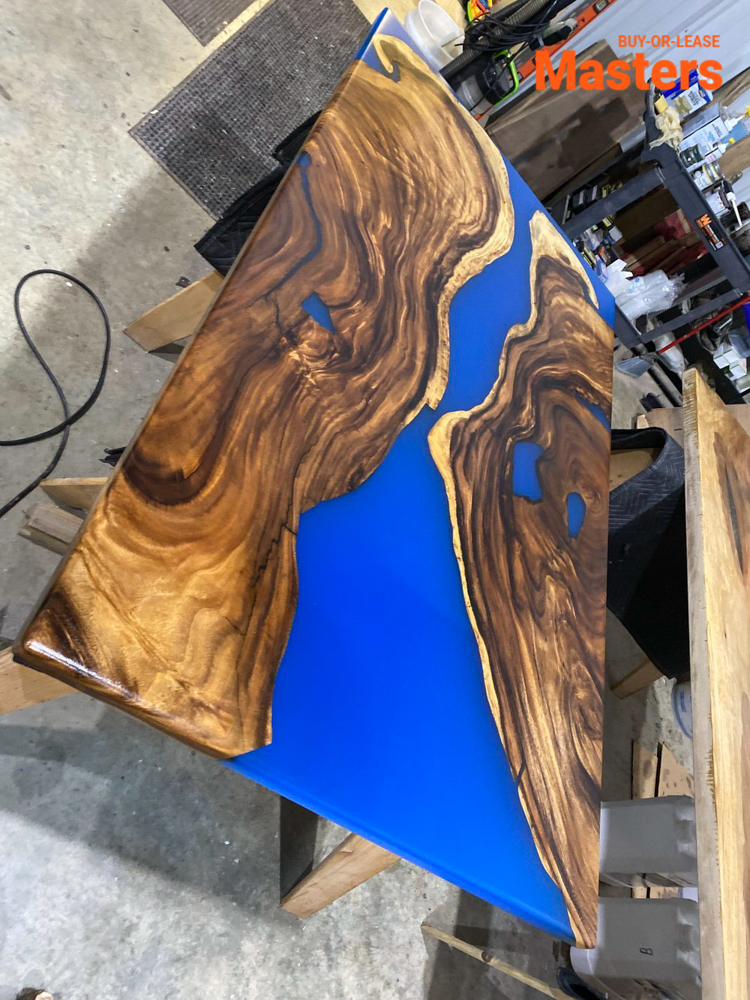
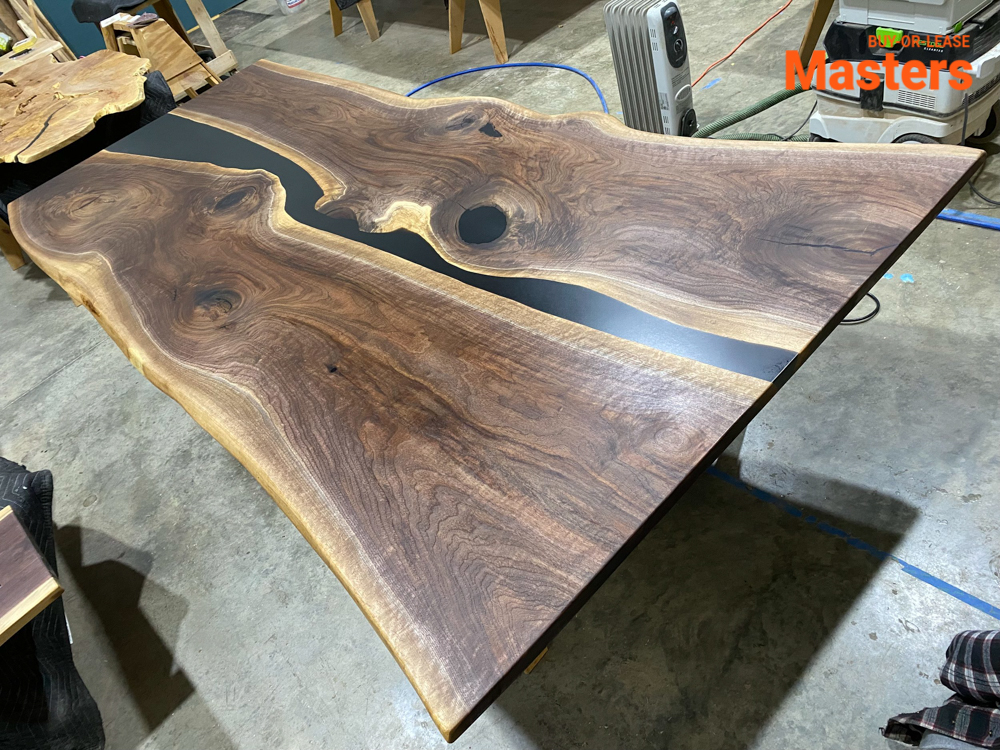
Follow the instructions provided by the manufacturer to mix the epoxy resin and hardener in the correct ratio.
Step 3: Adding color
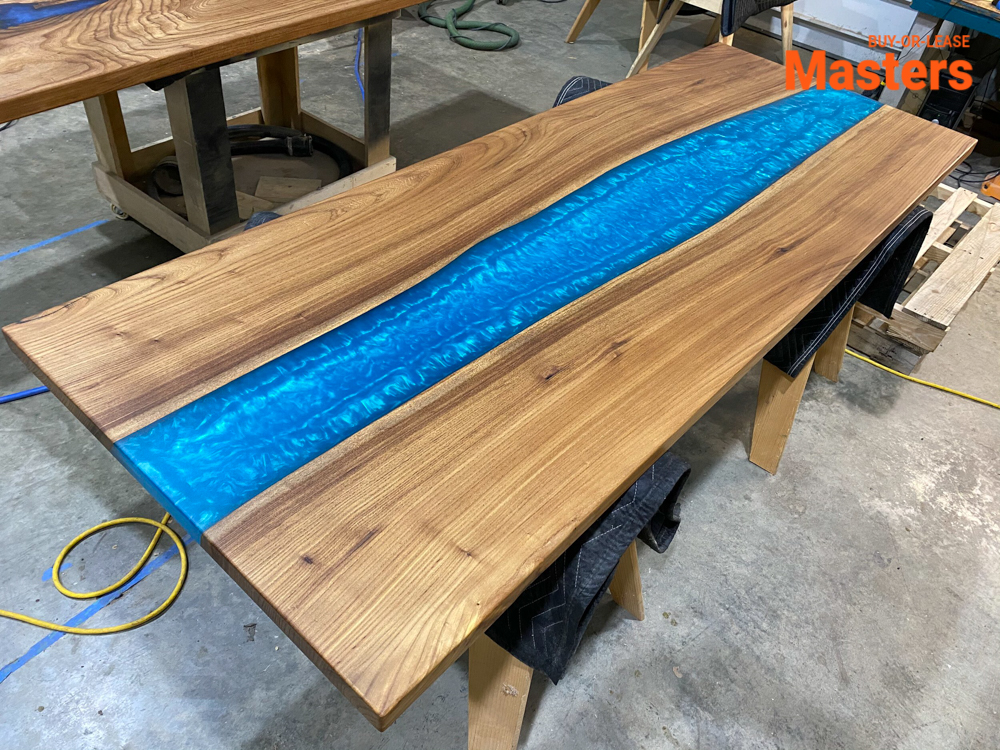
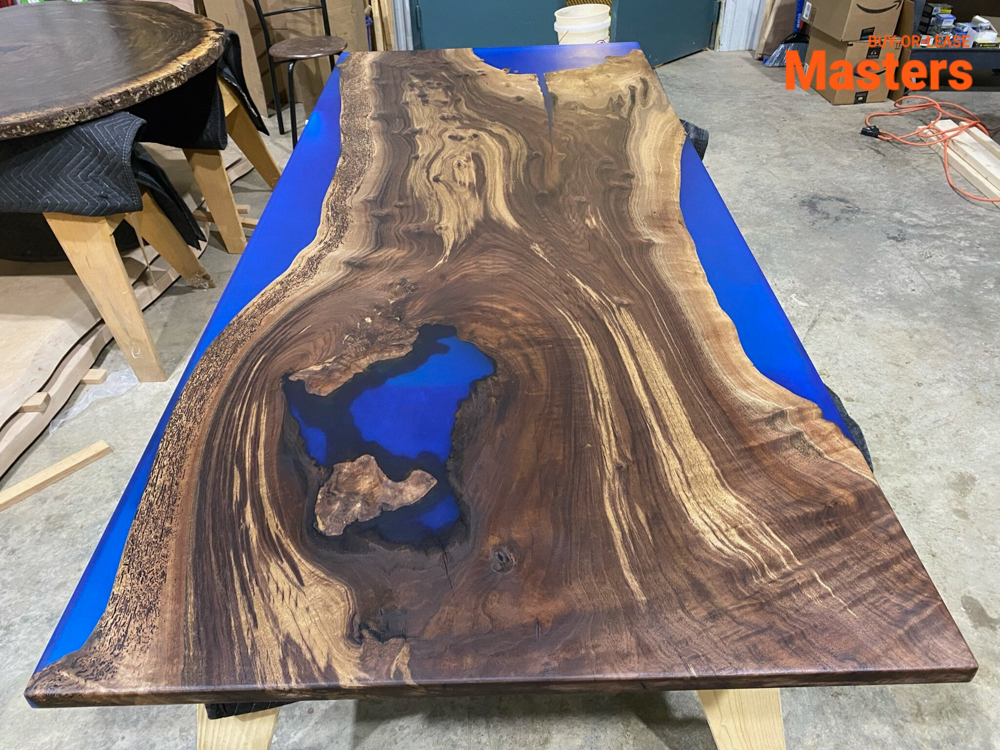
If you want to add color or other additives, now is the time to do so. Mix them into the epoxy mixture thoroughly.
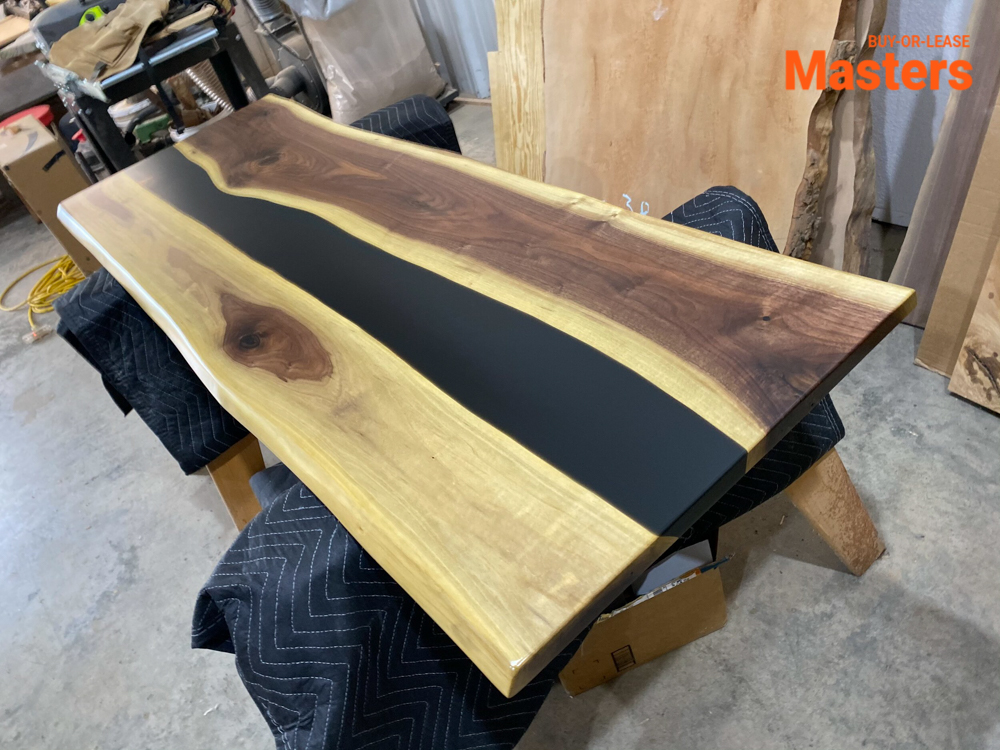
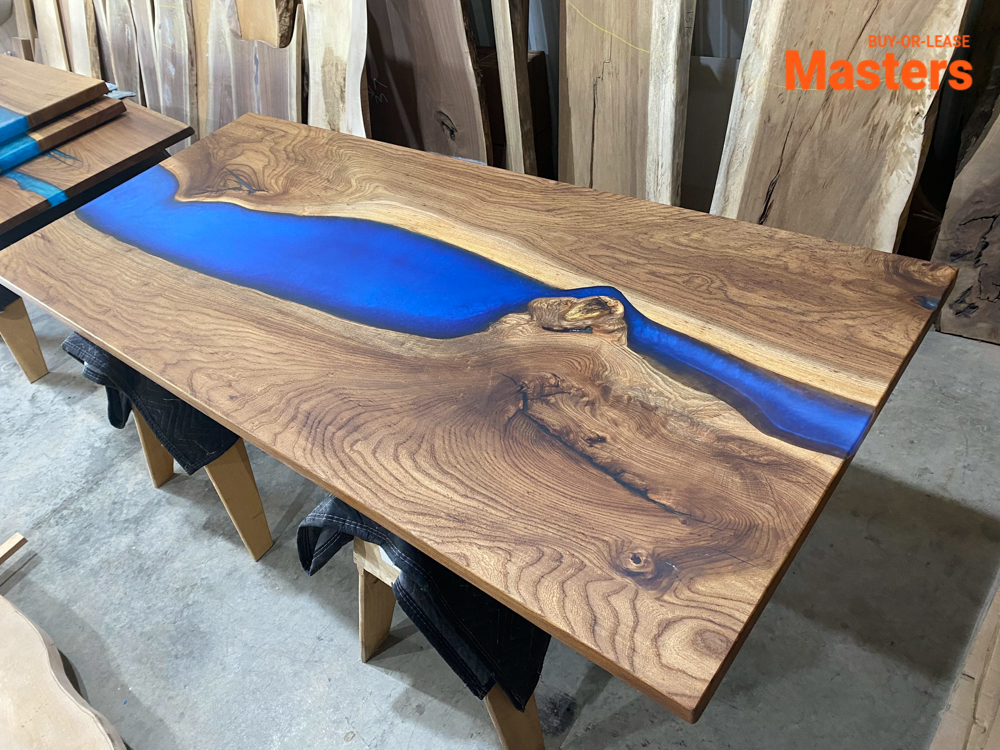
Step 4: Pouring and spreading
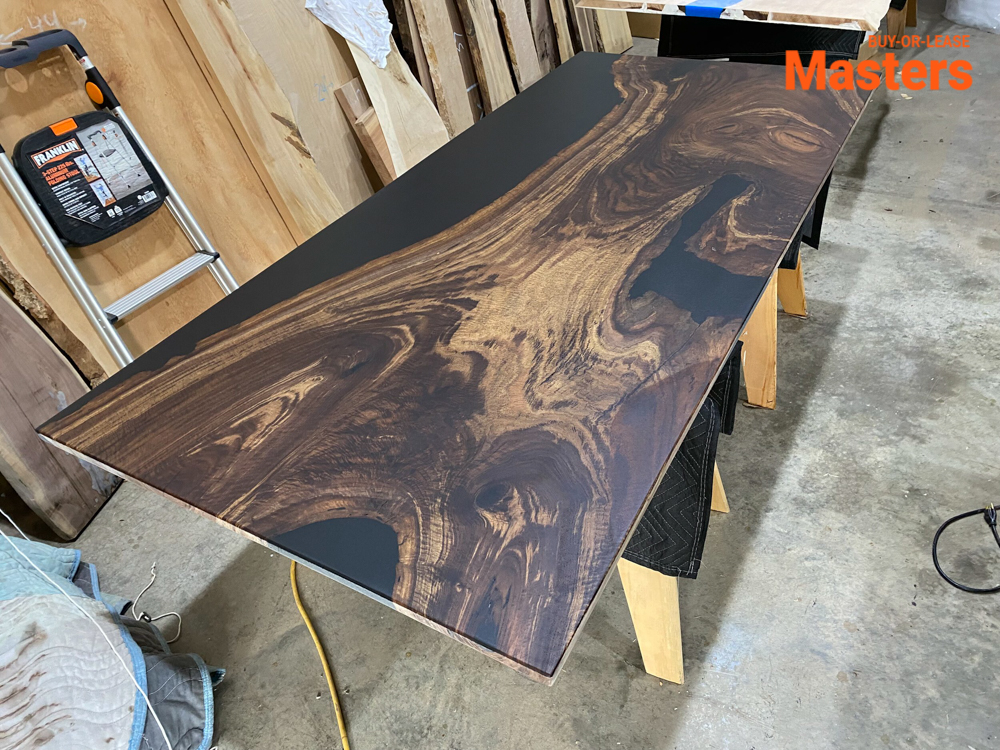
Slowly pour the epoxy mixture onto the table surface, starting from one end and working your way towards the other. Use a spreader or foam brush to evenly spread the epoxy across the surface.
Step 5: Eliminating bubbles
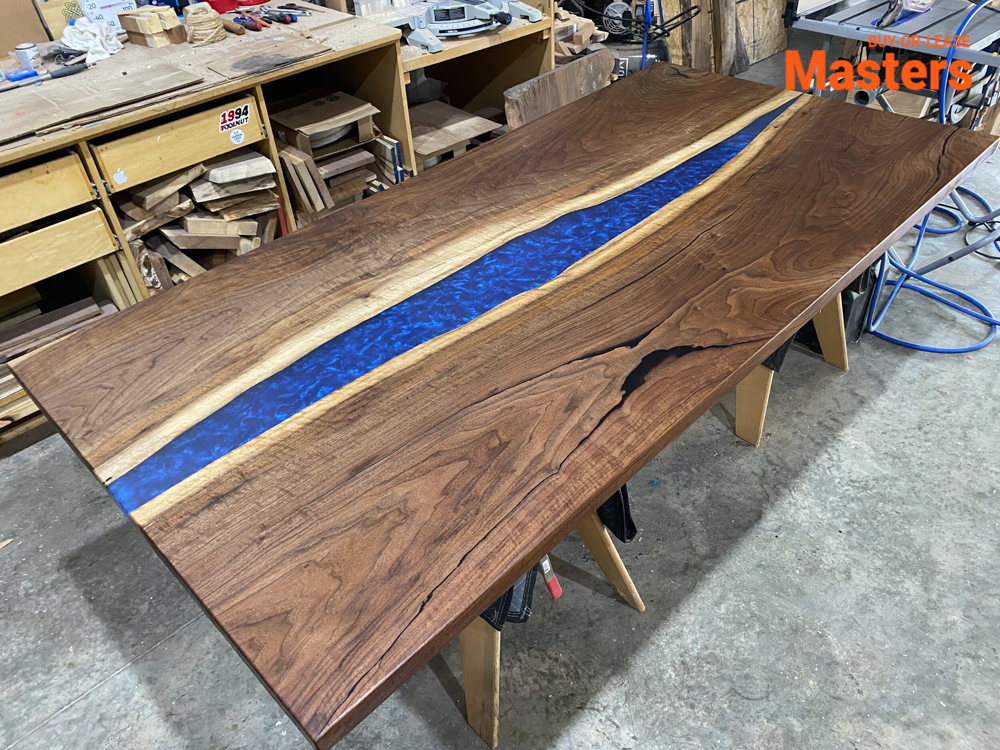
To prevent air bubbles from forming in the epoxy, use a heat gun or blowtorch on low heat and gently run it over the surface.
Step 6: Curing
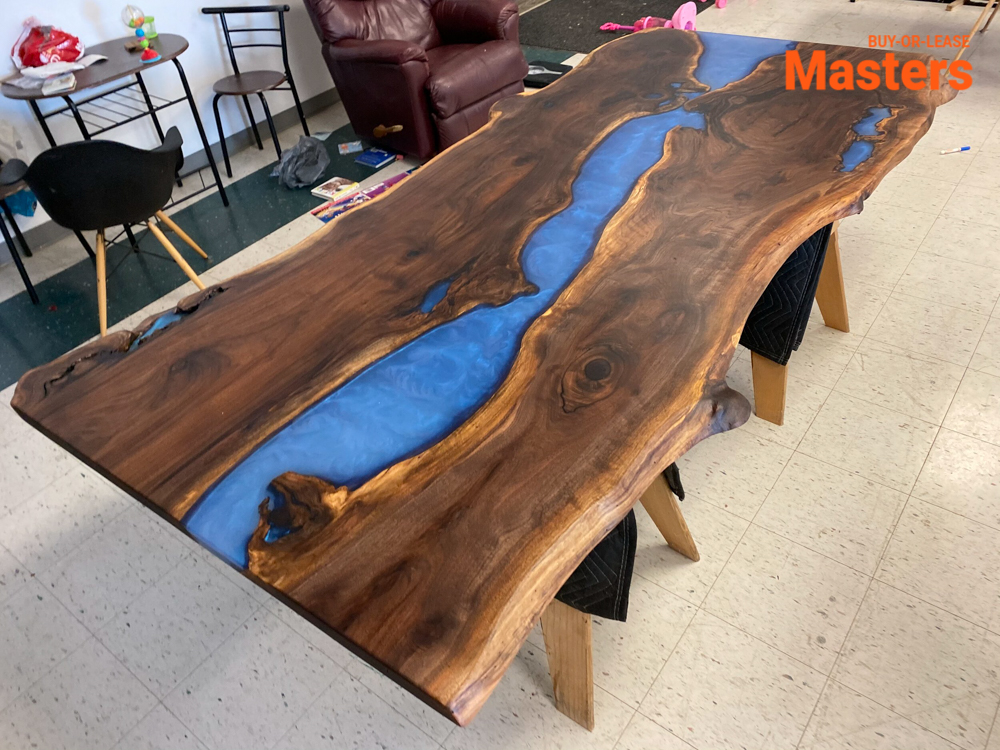
The epoxy will take several hours to cure completely, depending on the product used. It is essential to let it cure in a dust-free environment.
Step 7: Finishing
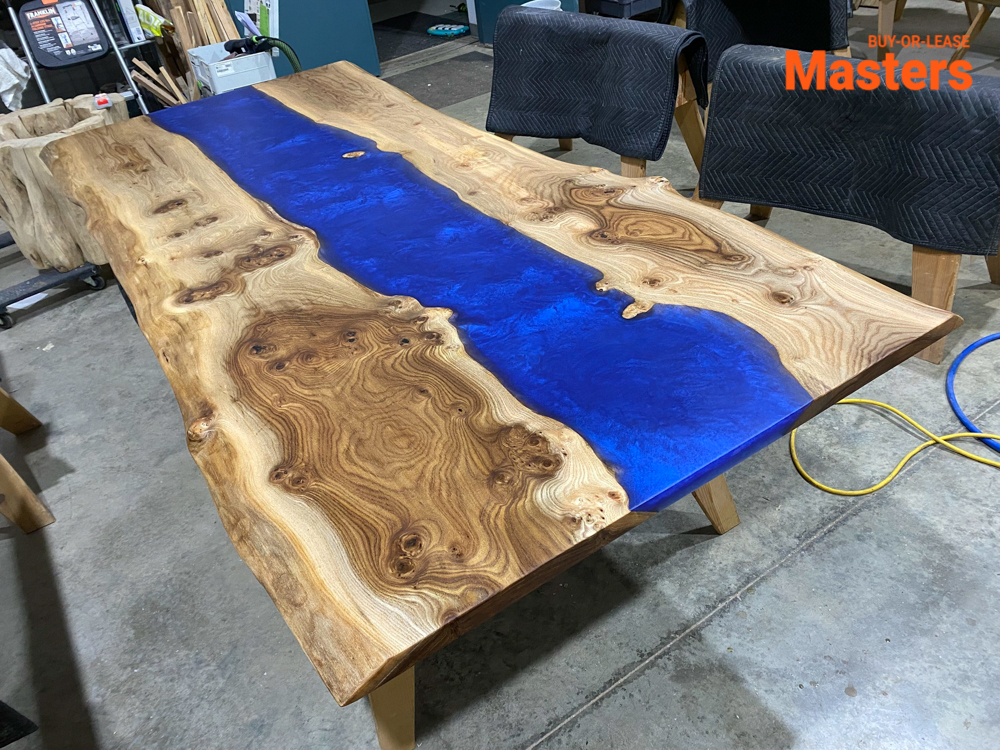
Once the epoxy has cured, you can sand down any imperfections and add a final layer of epoxy for added durability and shine.
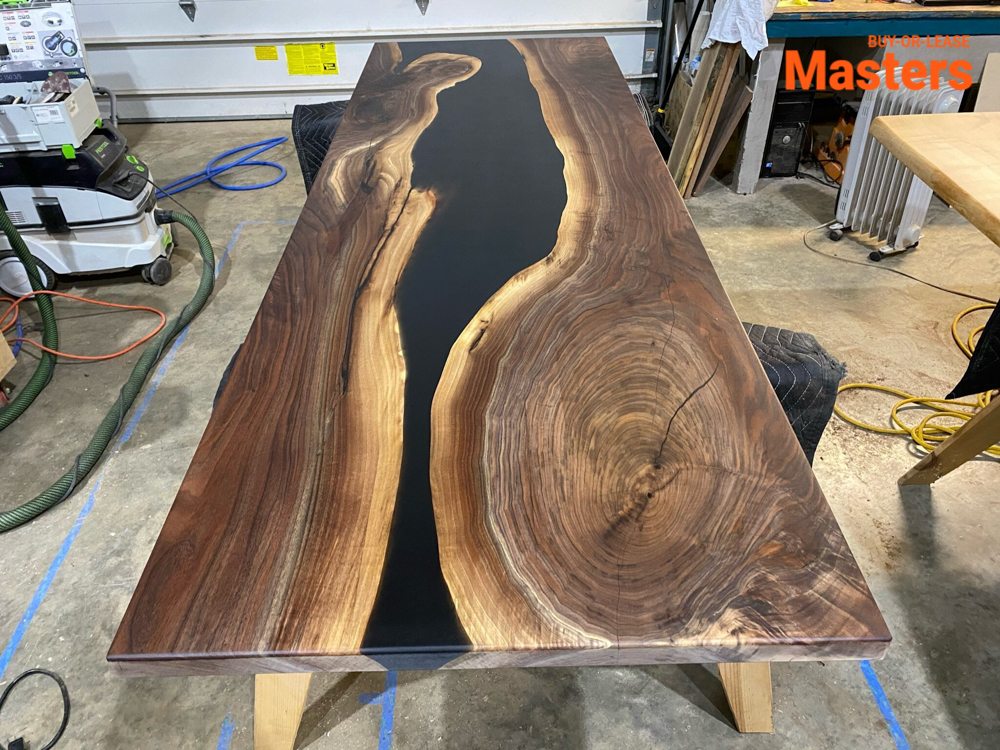
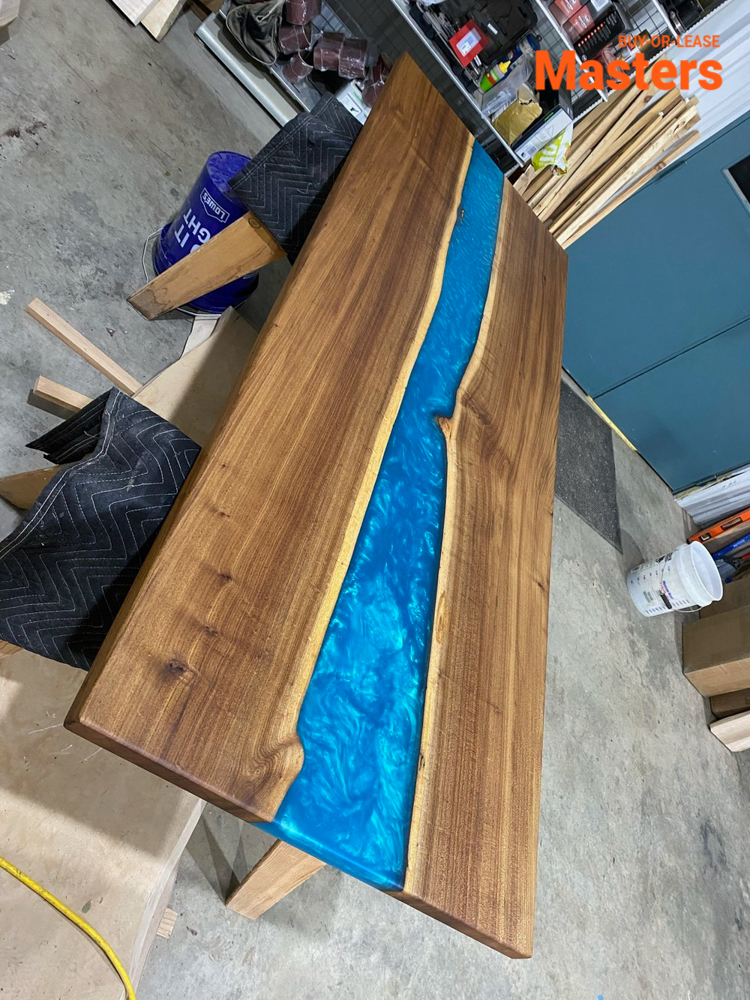
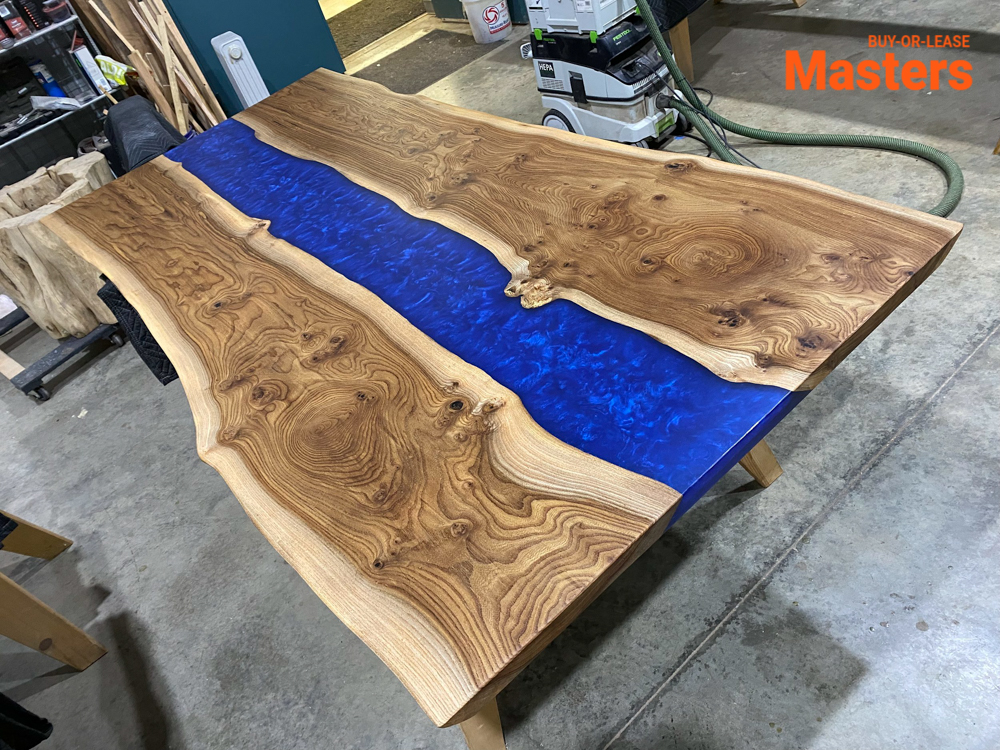
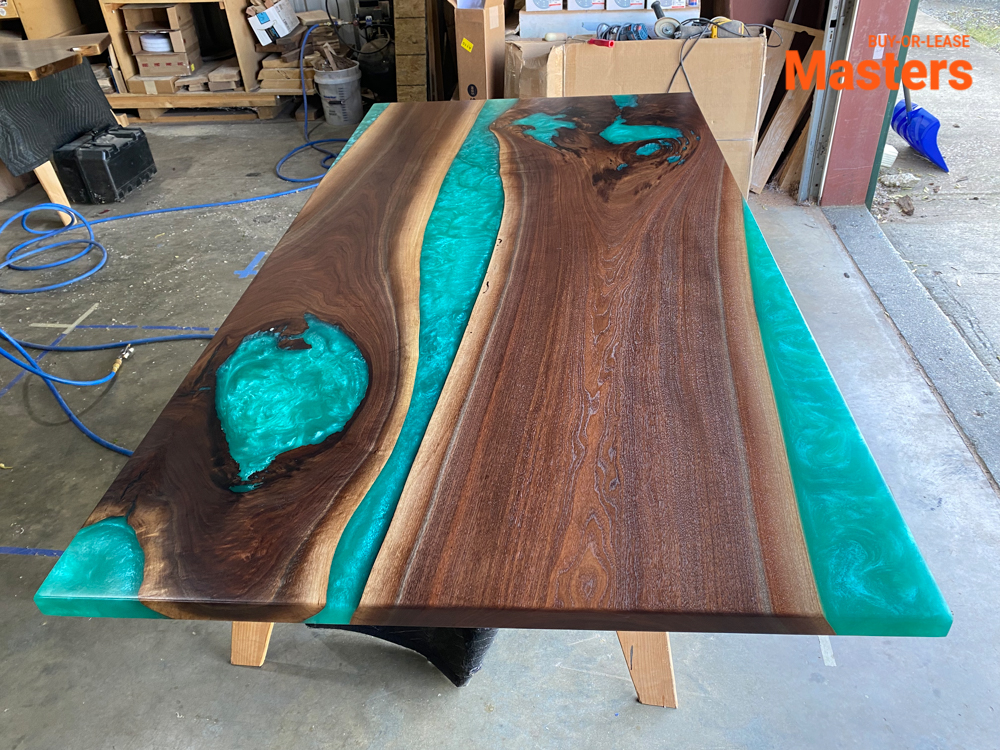
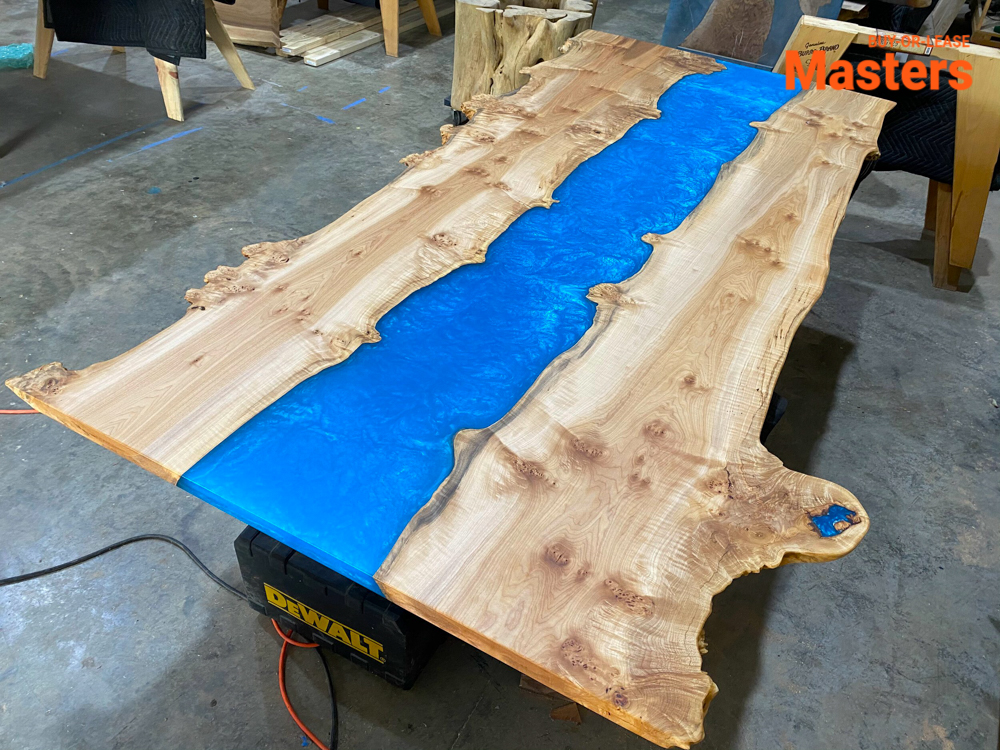
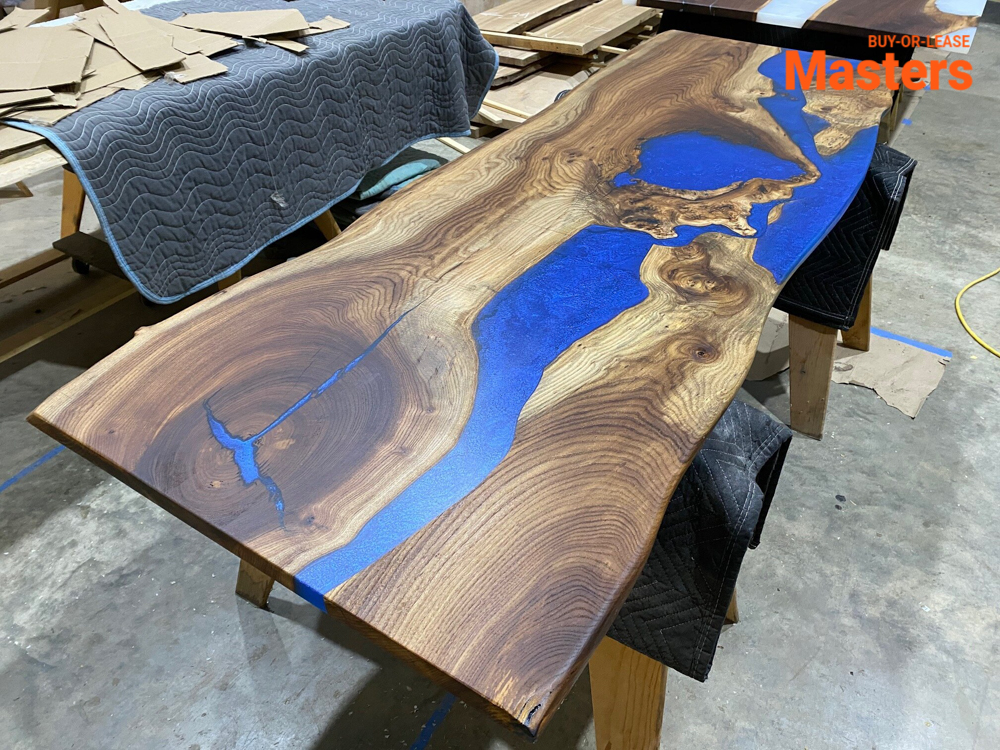
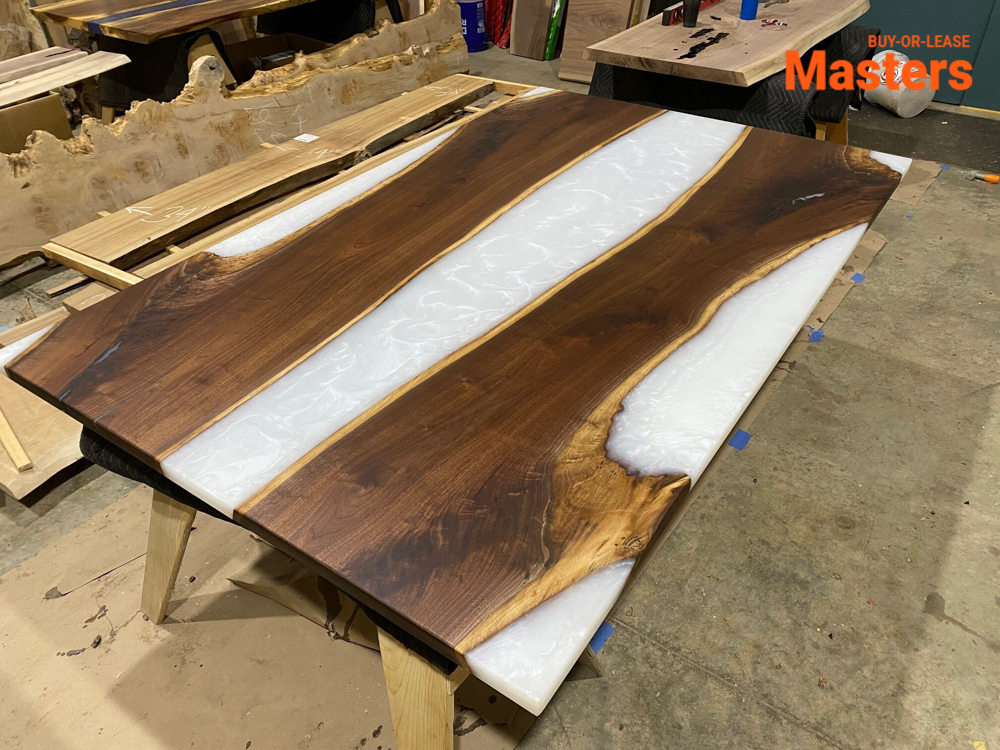
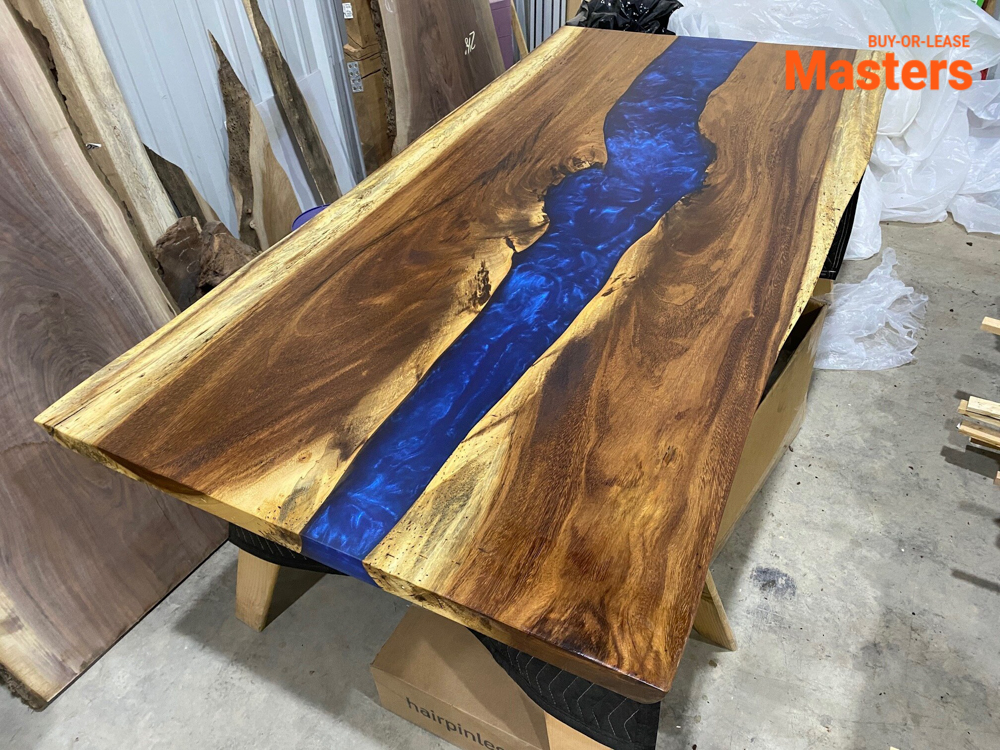
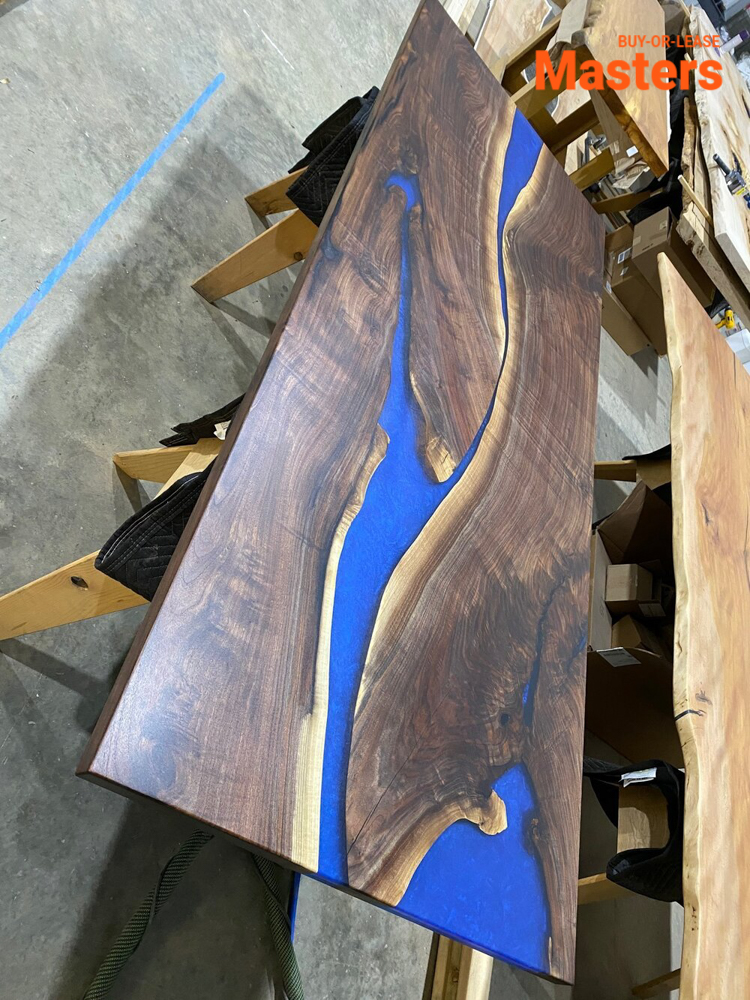
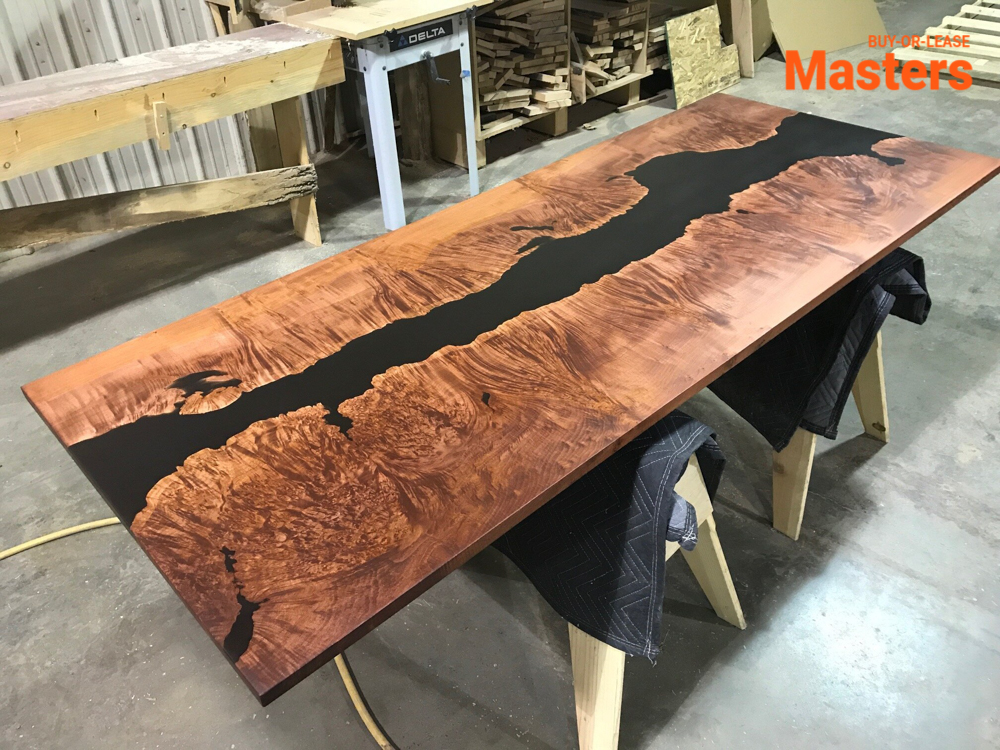
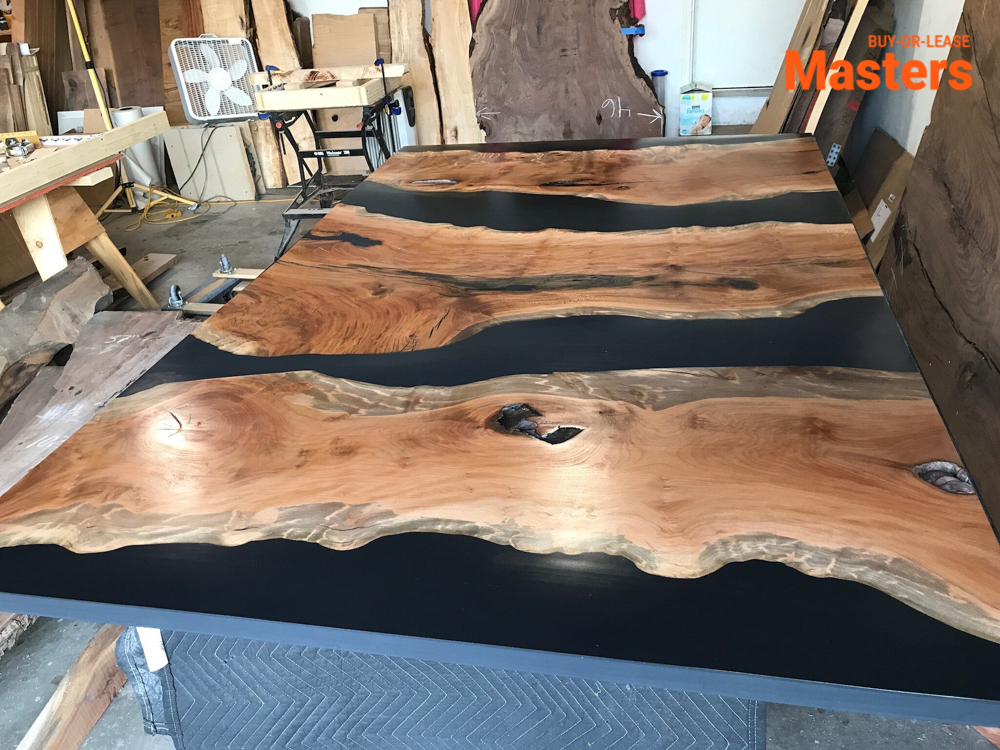
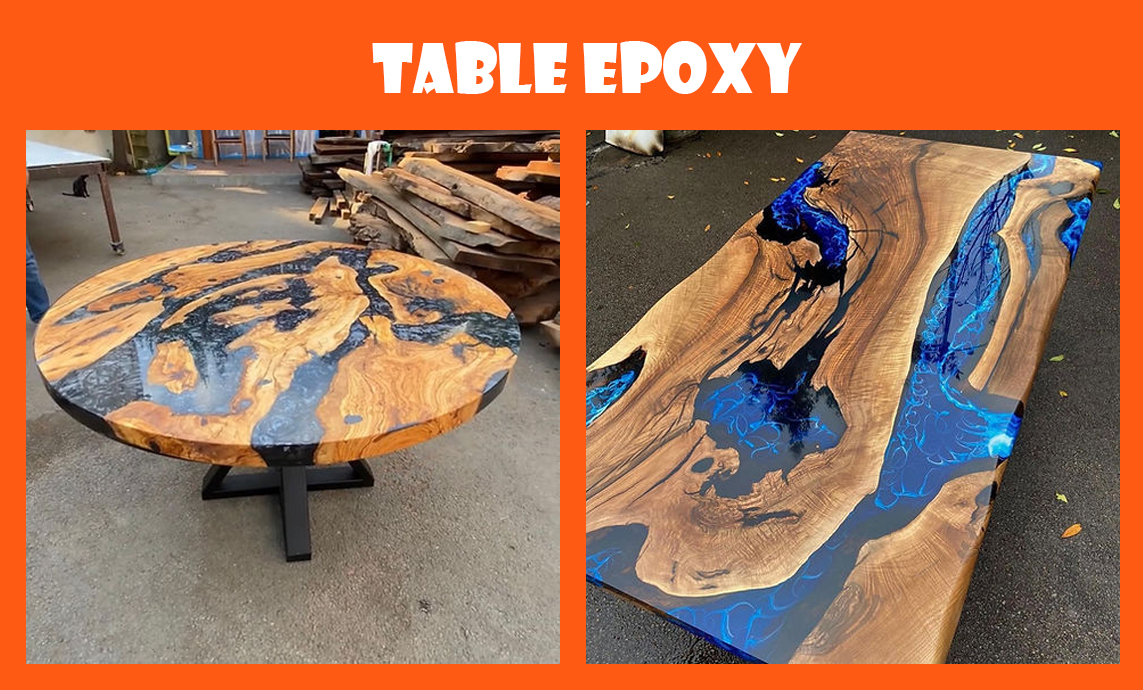
Related search terms: Table Epoxy Design, Table Epoxy …

Leave a Reply